Uncategorized
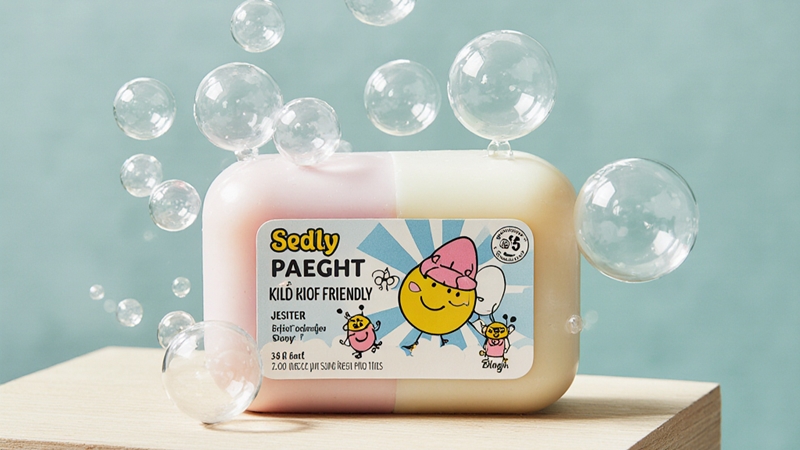
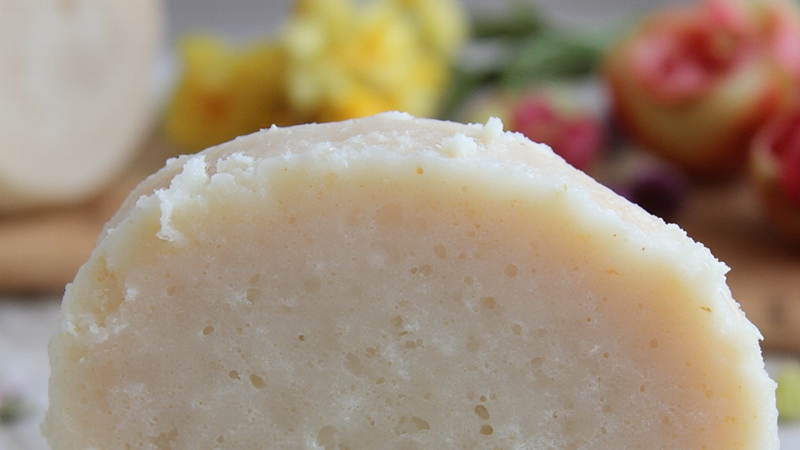
Kid-Friendly Soap Making
Introduction
Soap making can be an exciting activity for children. Not only is it a fun craft, but it also teaches kids about science, colors, and creativity. In this blog post, we will guide you through kid-friendly soap making projects that are safe, simple, and educational. Whether you’re a parent, teacher, or caregiver, these ideas will help you create memorable moments with your children while learning something new.
Why Choose Kid-Friendly Soap Making?
Before we get into the projects, let’s talk about why kid-friendly soap making is a great activity:
- Safe Materials: Kid-friendly soap making uses safe ingredients that are gentle on children’s skin.
- Educational Value: Kids learn about melting, pouring, measuring, and mixing colors and scents.
- Boosts Creativity: They can design their own soap shapes, colors, and patterns.
- Useful End Product: Unlike many crafts that end up on a shelf, soaps are useful in daily life.
- Perfect for Quality Time: It’s a great bonding activity for families and classroom settings.
Materials Needed for Kid-Friendly Soap Making
Here are the basic materials you will need for kid-friendly soap projects:
- Glycerin Soap Base: Look for clear or white glycerin soap base. This is safe, easy to melt, and perfect for kids.
- Silicone Molds: Fun shapes like stars, hearts, animals, or cartoon characters.
- Soap Coloring: Use liquid soap colorants. Avoid food coloring as it might stain skin.
- Essential Oils: Mild scents like lavender, orange, or chamomile are great for kids.
- Mixing Spoons: Plastic or wooden spoons for stirring.
- Microwave-Safe Container: To melt the soap base.
- Small Decorations (optional): Glitter (skin-safe), small toy figures, flower petals.
- Spray Bottle with Rubbing Alcohol: To remove bubbles on the soap surface.
Step-by-Step Guide to a Kid-Friendly Soap Making Project
Let’s go through a simple, kid-friendly soap making process that is safe and fun:
Step 1: Prepare Your Workspace
- Cover the table with newspaper or a plastic sheet.
- Make sure the area is clean and safe.
- Gather all materials so that everything is within reach.
Step 2: Cut and Melt the Soap Base
- Cut the glycerin soap base into small cubes. This part can be done by an adult.
- Place the cubes in a microwave-safe container.
- Microwave in 30-second intervals, stirring gently until fully melted.

Step 3: Add Color and Scent
- Once melted, let your child choose their favorite color.
- Add a few drops of soap coloring and stir.
- Add 3-4 drops of essential oil for a light scent.
- Stir slowly to mix everything evenly.
Step 4: Pour into Molds
- Carefully pour the melted soap into silicone molds.
- If desired, add small decorations like a tiny toy or dried flower petals into the mold.
- Lightly spray rubbing alcohol on top to remove bubbles.
Step 5: Let It Cool
- Allow the soap to cool and harden at room temperature for about 1-2 hours.
- Once hardened, gently pop the soap out of the molds.
Step 6: Enjoy and Use!
- Now your kid-friendly soaps are ready to use!
- Kids can use them for handwashing or gift them to family members.
Educational Lessons in Soap Making
Kid-friendly soap making isn’t just fun; it’s packed with educational lessons:
- Science Concepts: Kids see how solid soap melts into liquid and turns back into solid.
- Measurements and Counting: They learn to count drops of color and scent, improving math skills.
- Sensory Exploration: Handling soft molds, smelling oils, and seeing vibrant colors stimulates senses.
- Responsibility and Hygiene: Making soap teaches kids the importance of cleanliness and hygiene.
- Patience and Focus: Waiting for the soap to harden teaches patience and attention to detail.
Creative Kid-Friendly Soap Ideas
Here are some creative ideas to make your kid-friendly soap projects even more exciting:
Rainbow Layered Soap
- Pour a thin layer of one color, let it harden, then add another color.
- Repeat until you have a beautiful rainbow soap.
Embedded Toy Soap
- Place a small plastic toy (like a tiny dinosaur) inside the mold before pouring the soap.
- As kids use the soap, they’ll eventually find the hidden toy!
Glitter Surprise Soap
- Add skin-safe glitter to the soap mixture to make sparkly soaps that kids will love.
Fruit-Shaped Soaps
- Use fruit-shaped molds and add matching scents (like lemon or strawberry) for a fruity twist.
Alphabet Soap
- Use molds shaped like letters to create personalized name soaps.
Safety Tips for Kid-Friendly Soap Making
While kid-friendly soap making is generally safe, it’s important to follow these safety tips:
- Adult Supervision: Always have an adult supervise melting and pouring hot soap.
- Use Safe Products: Only use soap colorants and essential oils that are skin-safe.
- Mind the Temperature: Let the melted soap cool slightly before letting kids handle the container.
- No Food Coloring: Avoid using food coloring as it may stain hands and sinks.
- Avoid Small Decorations for Toddlers: Tiny toys or decorations should be avoided for very young children to prevent choking hazards.
Why Parents and Teachers Love Kid-Friendly Soap Making
Parents and teachers love kid-friendly soap making projects because they are simple to organize, require minimal materials, and provide endless creative opportunities. Plus, the final product is something useful and practical. It’s a great way to keep children engaged while teaching them valuable lessons in a playful manner.
Conclusion
Kid-friendly soap making is more than just a craft—it’s a hands-on learning experience that combines fun, education, and creativity. With simple materials and a little guidance, children can create beautiful and useful soaps that they’ll be proud of. Whether you’re looking for a weekend family activity or an engaging classroom project, soap making is a perfect choice.
You can easily find more of our blogs on Sanixway blog section!


